Meta Slider
You can easily bring your website or blog to life with the Meta Slider plugin, as explained in the user manual I provided in this article. Because the plugin is user-friendly, I’m confident that you will find it easy to follow along and replicate the steps I demonstrate.
We install and activate the Meta Slider plugin
We run the new Meta Slider plugin, with the help of it beautiful slides can be created for the homepage.
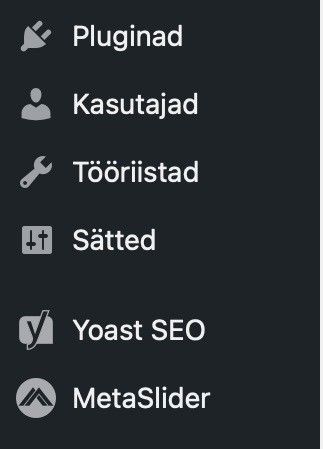
To create a slider, select Meta Slider from the console menu.
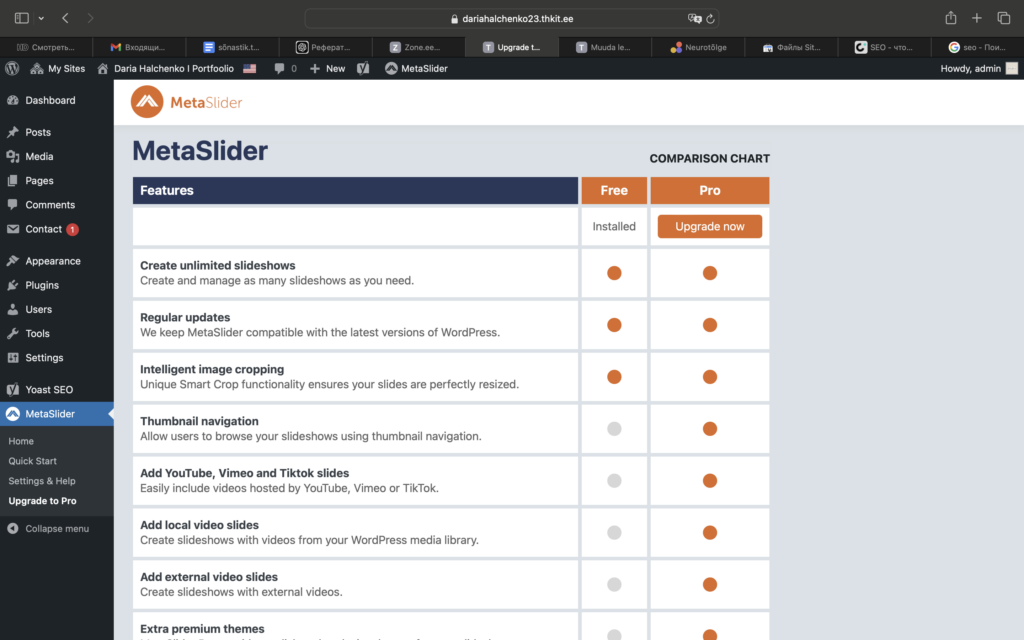
On tasuta ja Pro versioon
Press the + button to create a new slide.
To add a slide, press the “Add Slide” button (Add Slide). The mass insertion of slides also works.
You could write the name of the slide in the top field.
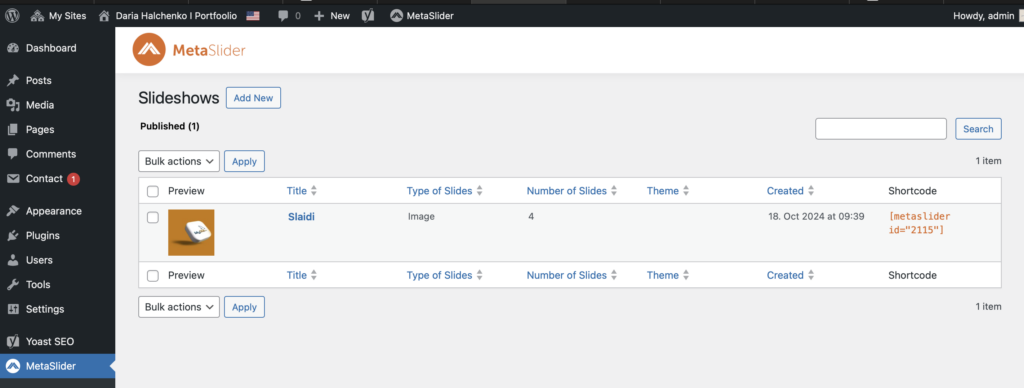
I’ve created 4 slides.
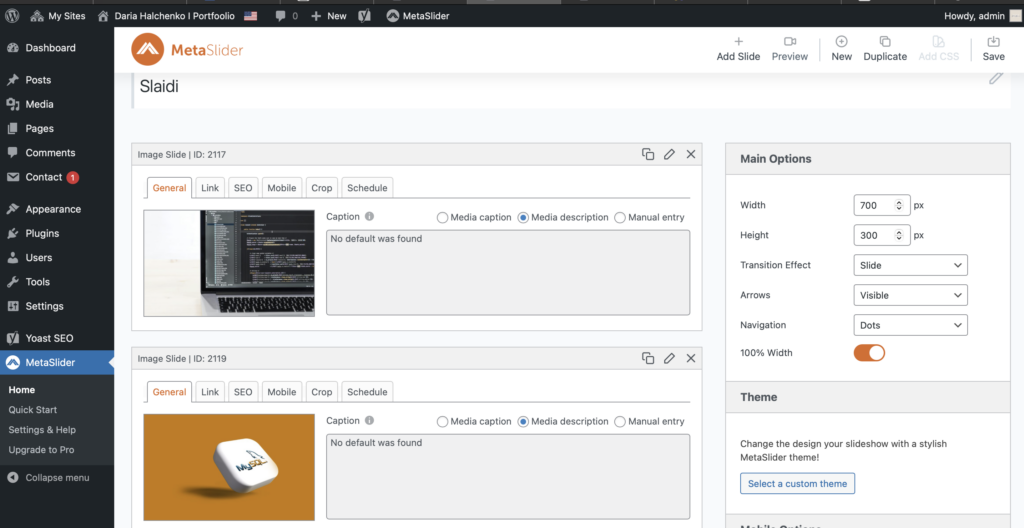
The slide features several tabs with different fields. Firstly, let’s explore the General Tab:
- Description: This field contains the text that appears at the bottom of the slide. In addition, you can customize this text to enhance the user experience and provide context for your audience.
Next, we move to the Link Tab:
- Link (URL): Here, you can add a link to the slide, directing users to any page on your website or another homepage. This functionality not only improves navigation but also encourages users to explore related content.
Furthermore, let’s look at the SEO Tab:
- Title and Alt Images: In this section, you can provide names and descriptions for the slide, which can help with search engine optimization. While filling these fields is optional, it is highly recommended for better visibility in search results. Thus, this step can significantly enhance your slide’s performance in search engines.
Moving on, we come to the Crop Tab:
- In this section, you can choose how to crop the image according to the dimensions set in the configuration. By doing so, you can ensure that the images fit perfectly within the layout without losing important details.
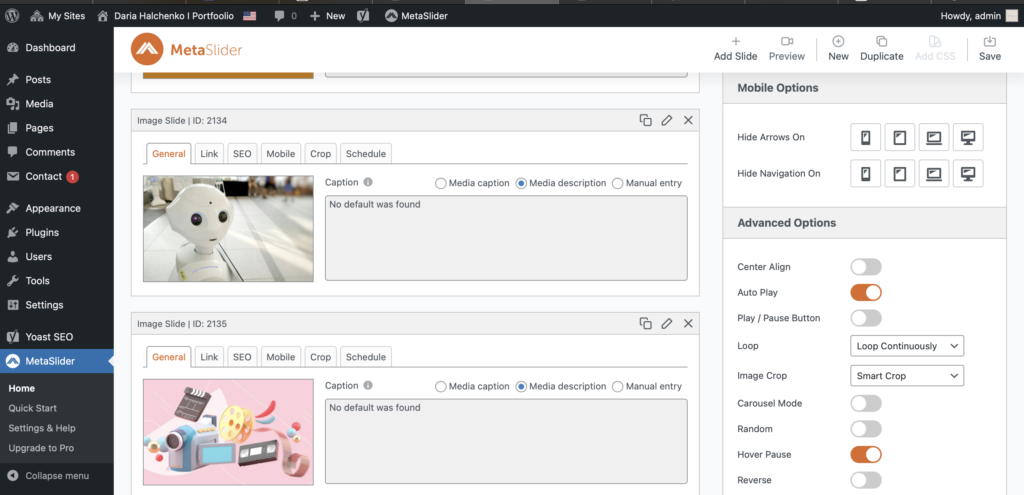
In the right-hand field, you can specify additional slide settings, including:
- Slide Type Selection: Here, you can choose the type of slide you want to use. This choice allows for customization based on your content needs. Moreover, it helps tailor the presentation to better suit your audience’s preferences.
- Slide Dimensions: In this field, you can input the desired dimensions for your slide, ensuring it displays correctly across different devices. Consequently, your content will look good whether viewed on a desktop or mobile device.
- Animation Effect: Furthermore, you can select the animation effect that occurs during slide transitions, adding a dynamic element to your presentation. As a result, this can capture the viewer’s attention and enhance engagement.
- Design: This option is only available for the Nivo Slider, allowing you to customize the external design of the slider. Therefore, you can create a more visually appealing display that aligns with your branding.
- Arrows: Additionally, you can toggle the slide arrows on or off, giving you control over how users navigate through the slides. This feature enhances user experience by allowing more streamlined navigation.
- Navigation: This option allows you to enable or disable navigation buttons for moving between slides. As a result,users can easily browse through the content at their own pace, which can improve their overall experience.
In conclusion, these settings provide you with comprehensive control over the appearance and functionality of your slides. Ultimately, this enhances the overall user experience, making it easier for visitors to engage with your content.
Upload an image to the media feed or select from the uploaded ones.

Add a slideshow
Press the “Add to Slideshow” button to add a slideshow.

We are looking forward to charging

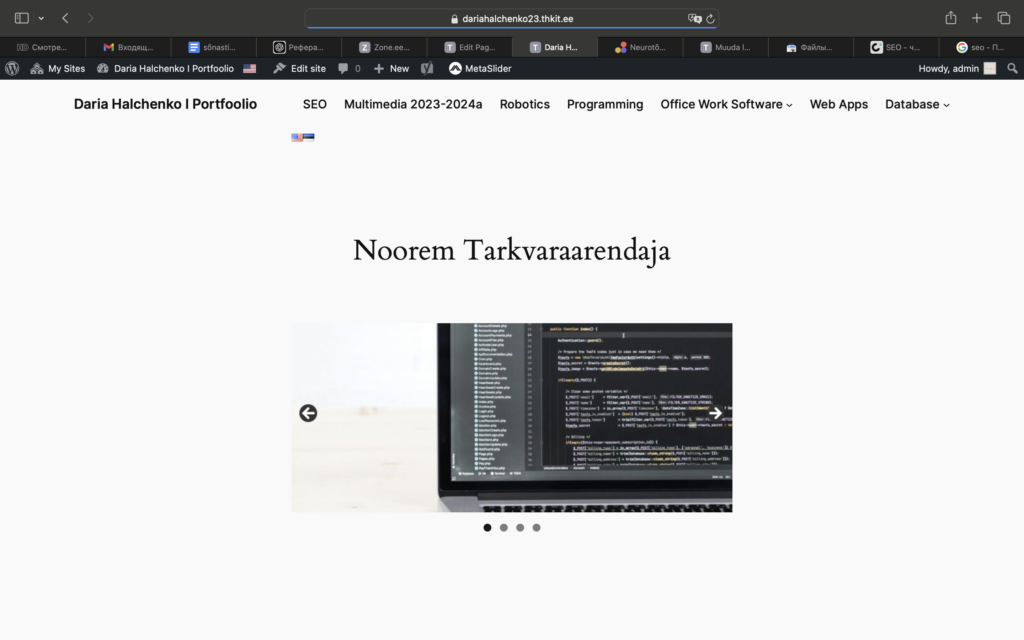
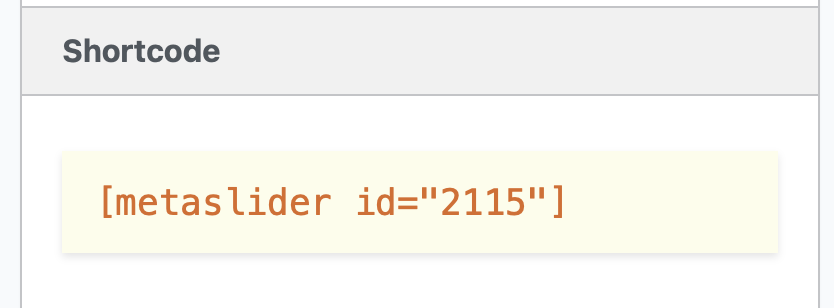
Placing the Slider on the homepage
The slider shortcode can be inserted on pages, posts, widgets, and in the additional fields of certain themes. Additionally, the shortcode can be found in the slide settings, located at the bottom right corner of the section under the “Use” block.
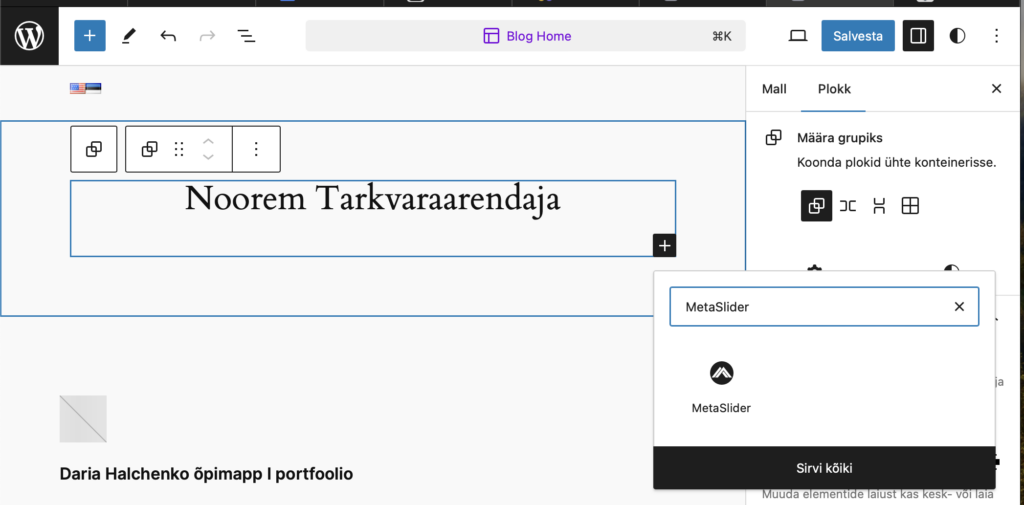
Another way to add a slide is by going to the page or post editing section. First, press the “+” button and search for “MetaSlider.” Next, position your mouse pointer where you want the slider to appear on the page. Finally, click the button and choose which slider to add.